VICOM is appointed by the Land Transport Authority as a commissioning centre for In-Vehicle Unit (IU) services. Installations, checks, replacements and transfers of IUs are available at all 6 VICOM/JIC Inspection Centres.
Useful Information
Cost of an IU Each IU costs $158.70 (GST inclusive).
Transfer of IU You may transfer a deregistered IU from a scrapped vehicle to be used on your existing vehicle. The deregistered IU must be in working condition and must be presented within 6 months from the deregistered date. Kindly note that a service fee will be imposed.
IU Brackets for Motorcyclists For motorcyclists who replace their IU units to the 2nd Generation (2G) version, an additional mounting bracket (chrome) purchase may be required due to compatibility issues. Motorcyclists will be able to purchase a (chrome) IU mounting bracket by topping up $16.35 (GST inclusive).
Expiry Date of NETS CashCard/EZ-Link card resulting in “ERR” display on the IU Your NETS CashCard/EZ-Link card will expire 5 years from the date of issuance. The expiry date is printed on the back of your card. Upon expiry of NETS CashCard/EZ-Link card, you will see an error message “ERR” appearing on your IU. There is no need to rush down to an inspection centre. You may obtain an immediate refund on a non-damaged card from any DBS/POSB, OCBC or UOB ATM (select ‘More Services’).
Malfunction of the IU If there is no display on the IU screen, this could be due to reasons such as loose connection of wires, defective IU, blown fuse and more. You may bring your vehicle to any of our centres for a diagnostics on the IU. Please note that there may be a fee imposed due to poor wiring work on IUs not installed by VICOM/JIC Inspection Centres.
*Attention: Please be advised that the last registration for IU/OBU installation will be at 3.00pm.
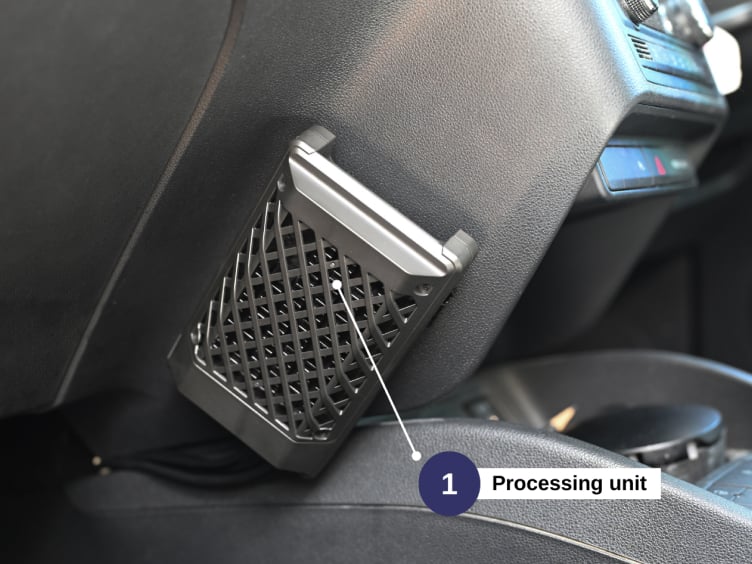
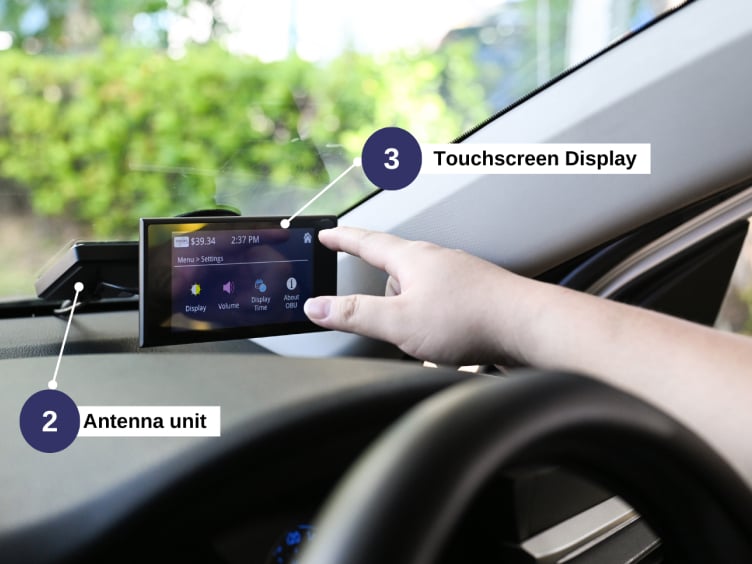
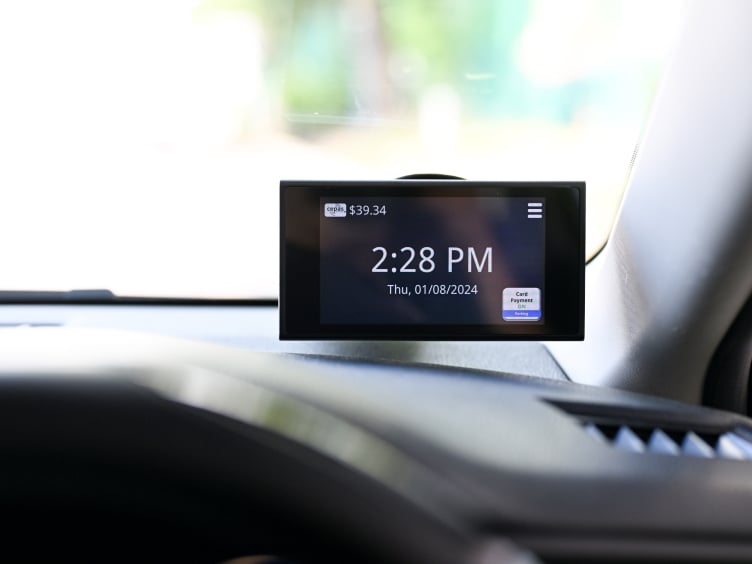
The new OBU is a three-piece design, comprising a Processing Unit, an Antenna Unit and a Touchscreen Display.
For OBU-related inquiries, please reach out to our customer service hotline at 6458 4555. For Vehicle Fleet OBU Installation, contact us at 6697 5217 to make arrangements.
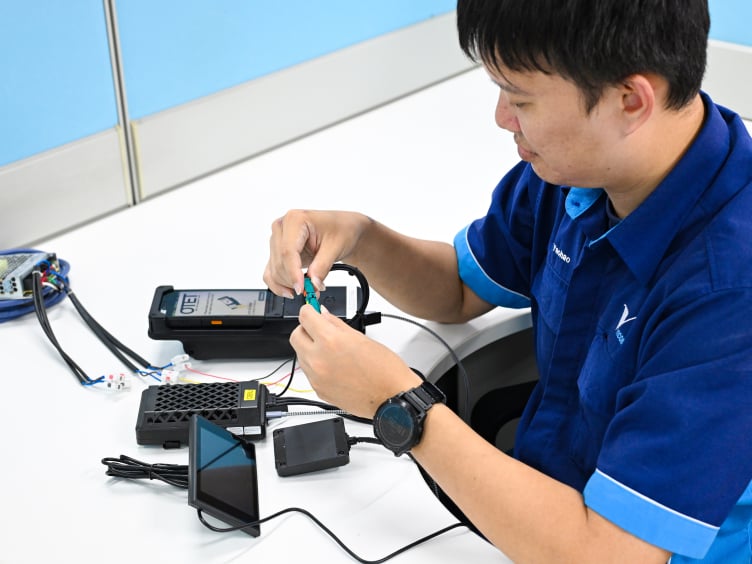
Test the OBU System Comprehensive checks and tests will be performed to verify its functionality before installation.
Step 2
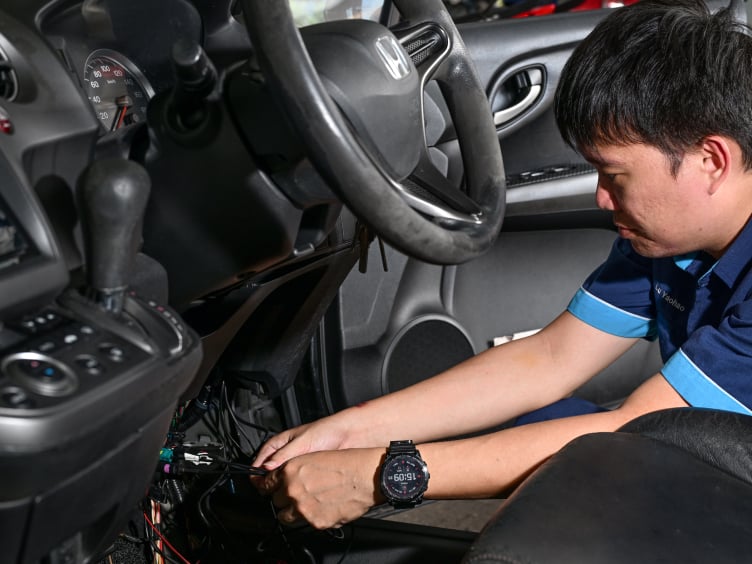
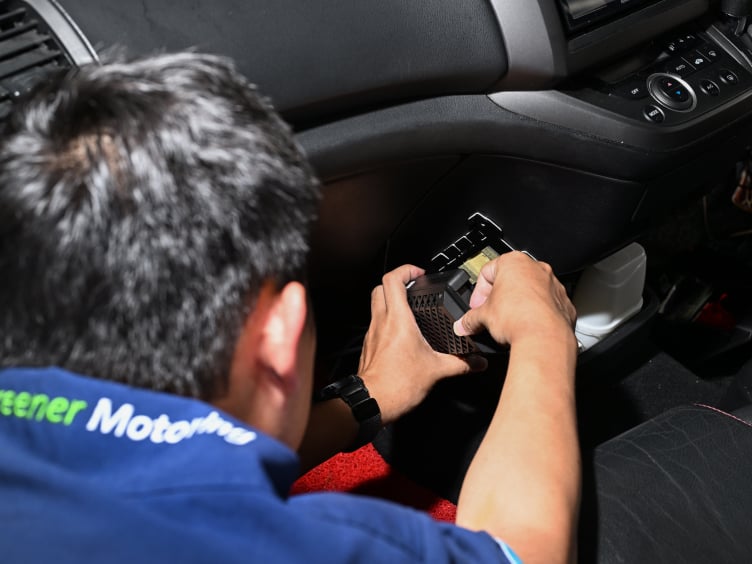
Connect the electrical circuits Internally route the wires along the underside of the dashboard.
Step 3
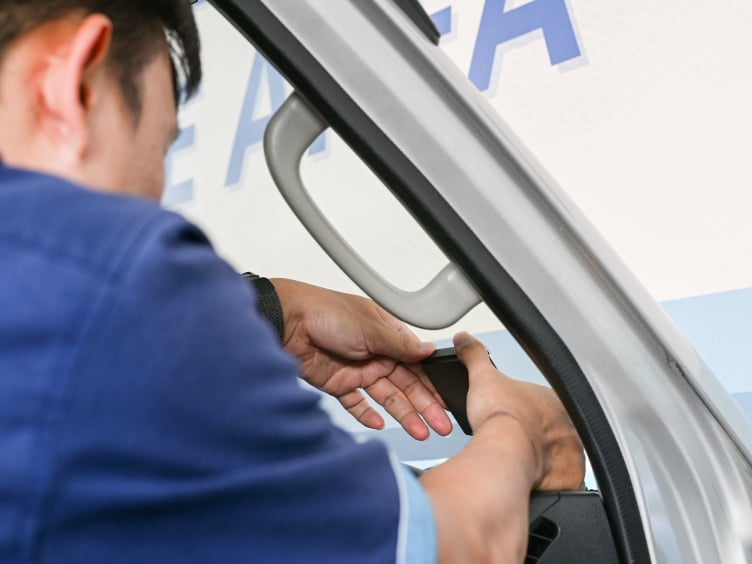
Install the antenna Install the antenna on the windshield to ensure optimal signal reception and transmission.
Step 4
Place the processing unit Select your preferred location for the processing unit, which can be installed in either the passenger or the driver’s area.
For more details on your option, kindly refer to the LTA’s website here.
Step 5
Fit the touchscreen display When scheduling your appointment, please specify whether you’d like the touchscreen display installed. If you opt not to install the touchscreen, you can use a compatible mobile app to access ERP and other traffic information.
Step 6
Installation complete After the installation is complete, you’ll receive a notification. You can then easily manage your OBU and view transactions through One Motoring’s digital services here.
Hello! I am Vern. Ask me if you have any questions.